So you read last week’s blog post and decided that an LMS is the right solution for your association.
This is an exciting step and setting up an LMS will bring a multitude of benefits to your organization, such as:
- Organizing your digital property
- Automating learning paths for quality retention
- Tracking performance for optimizing content
- Streamlining processes through integration
To ensure that both you and your members get the most out of this new platform, you want to make sure that your site is optimized for accessibility. Meaning? The front-end of your site needs to be organized in a way that’s easy for your members to navigate.
There’s nothing worse than having a site that has great content, but is set up in a confusing way. You invested in an LMS for your members, so make sure it’s working for them!
Here are three tips to creating the best possible user experience for your LMS:
1. Add tags to your packages: One of the best ways to organize your content is to categorize them with “tags,” or labels that denote what the course is about. Take one of our clients, the Telecommunications Risk Management Association (TRMA), for example:

The gray tags you see underneath their packages shows what topics are covered in those particular courses. This allows the user to more easily find what courses may be relevant to them. A tip for deciding what “tags” to create is to keep in mind which items will show up in a search using keywords.
So how do you create these tags? When setting up your courses on the front-end in the Store, navigate to the “Tags Management” area. Here, you will be able to type in any tags that you may want to include for each of your packages. As seen in the TRMA picture, these tags will appear with the package on the front-end of the site, and will be searchable within your courses as well.
For more information on how exactly to create tags, check out this article: MC | LMS – How to make courses available on the frontend.
Now that you’ve made tags, how can they help you set up your website? On to our next tip…
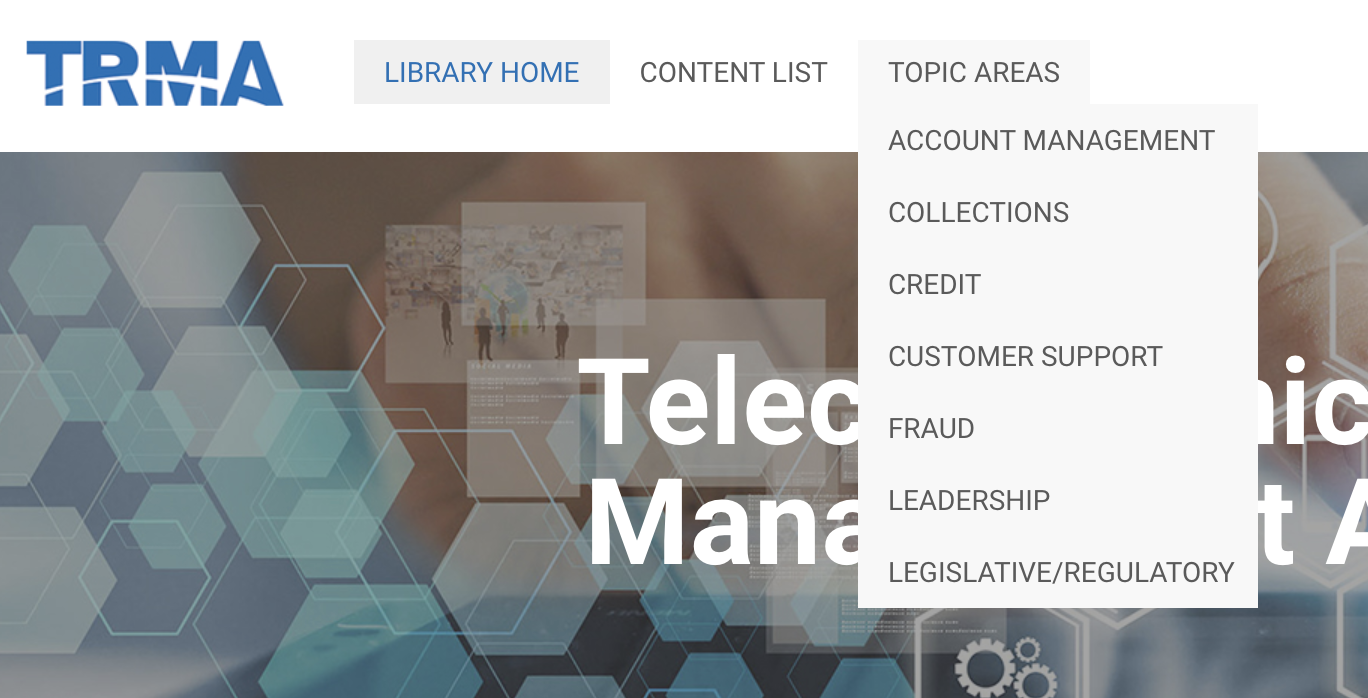
2. Update your menu on the backend to link to tags: Now that you have added tags to help organize your content, you can use them to configure the layout of your website. After you’ve created a tag to represent a page, you are able to add this page to your menu. Now that you’ve seen how TRMA utilizes tags, see how it corresponds to their menu setup:
 Do you notice how the tags in grey correspond with different dropdown pages of the menu? This is how the two come together to make an easy-to-navigate website for your audience.
To understand how to turn tags into pages, refer back to the article: Creating Pages on Your Menu.
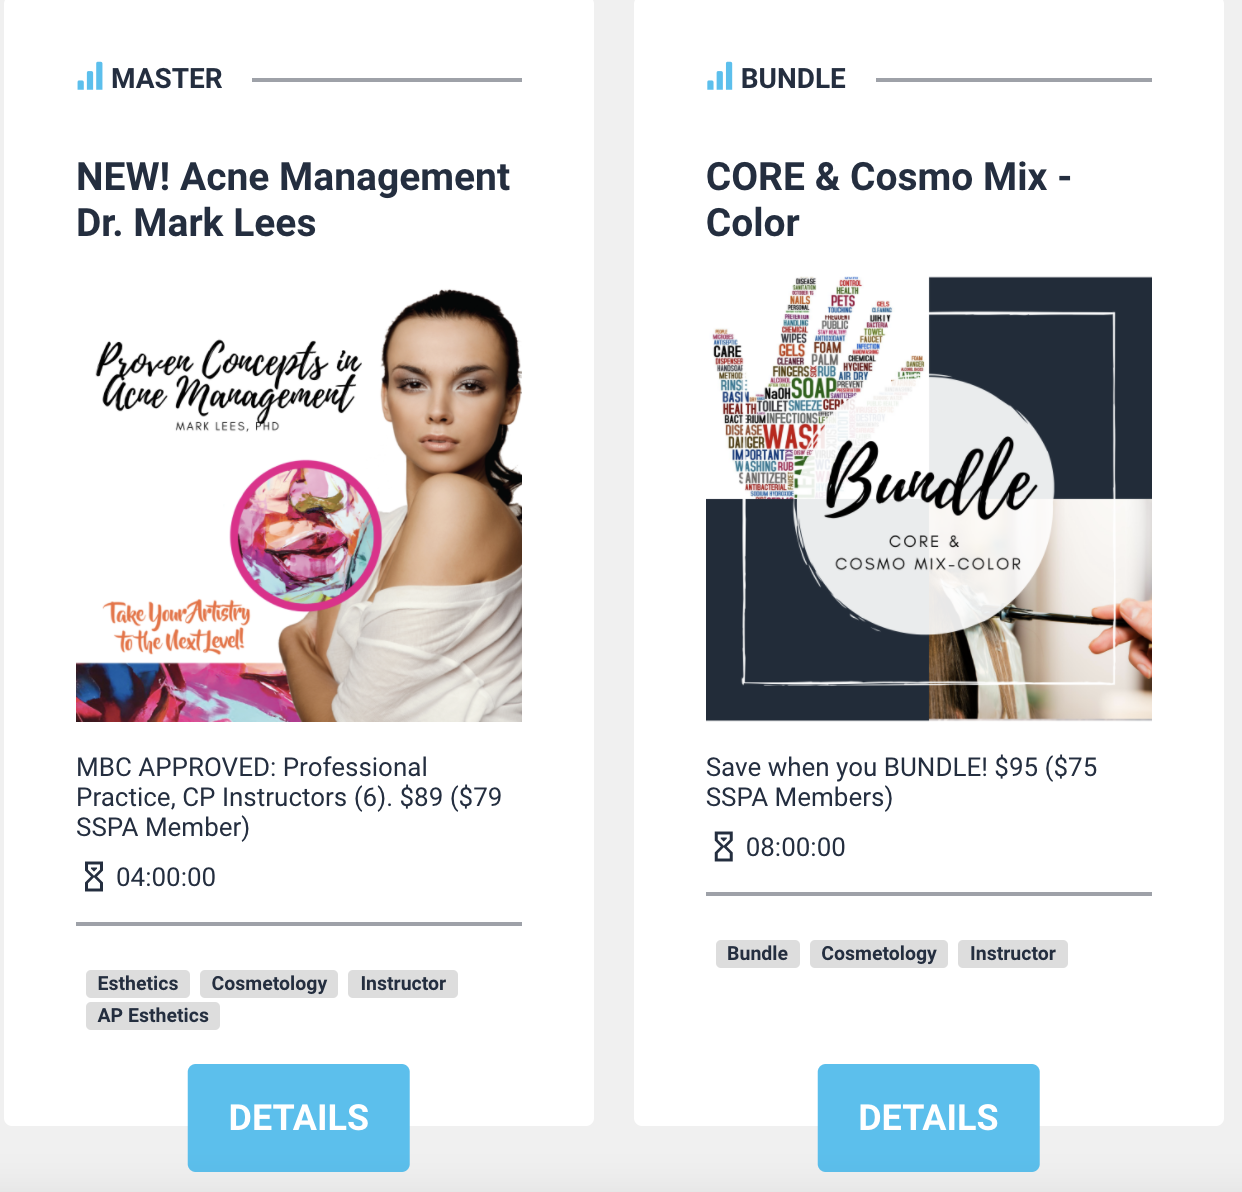
3. Add images to a course: While this doesn’t deal with our past two tips, a final tip for organizing the front-end of your LMS is by adding pictures to associate with your courses and packages. Pictures not only make your website more visually appealing, but a picture that has to do with the content of the course helps your visitors more easily navigate to the content they’re looking for.
Our friends at the Salon & Spa Professional Association are a great example of adding relevant pictures to correspond with their courses:

For a step-by-step guide on how to add images, check out this article.
Want to learn more about the basics of how to set up an LMS? Check out these other articles:


